
Another thread from the past. Any prices shown are out of date.
In my research into restoring the Krag, I have found that Springfield Armory used several different metal finishes for the various parts of the rifle. Many of these finishes were a byproduct of that parts manufacturing process.
The bluing of metal is an oxidation process. It can be achieved in several ways.
One of these is Nitre bluing. It was used as a tempering process to draw back parts that had been case hardened, and it was used as a final finish on parts that would not see pressure.
As with other 19th Century technology, it is fairly easy to do for the advanced tinkerer.
Here's some pics of my first attempt at Nitre bluing.
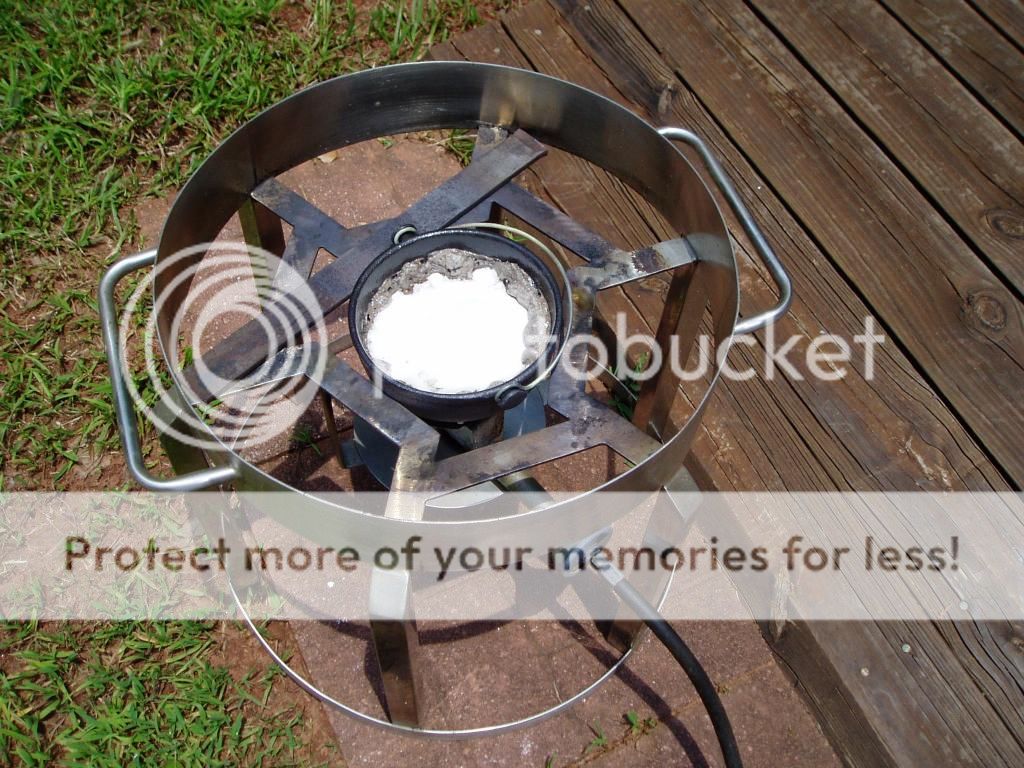
Salts heating up.
Some parts from my junk bin that will serve as test pieces.

Part in salt bath.

Before, after polishing, after bluing.

I had intended to do one of the barrel bands pictured. While in the bath, a thunder storm came up. Needless to say, water in a 800F salt bath is bad news, so I had to shut down for the day. Maybe tomorrow.
The range of colors possible by this process is determined by the temperature and immersion time. Straw colors as seen on Luger triggers, as well as the peacock blue used on screws and pins on 19th Century arms are possible.
Lots of good info.
http://www.brownells.com/userdocs/le...g%20Bluing.pdf
Buying Nitre salts.
Brownells sells these of course, but the small bucket is 10lbs. for $66 plus HazMat. For the small amount of parts I need to do, this was a little more than I wanted to pay. By chance, in my quest for knowledge, I learned that this commonly available product is Potassium Nitrate. Springfield's formula also had 10% Manganese Dioxide, but I'm told this is not essential, just a enhancer to the process.
Available at Lowes for $6.44lb. The amount shown in my pot is 2 lb. worth.

With all the rain we've been getting, It's taken til now to get some time to play with this further.
Polished up another swivel from the pile of Krag parts. Heated up the salts to 650* to have a stab at getting the peacock blue color. The salts are hydroscopic and had absorbed a bunch of water when it rained me out the last time. Had to let the pot simmer and boil off the water before cranking up the heat.
Polished the swivel up til it looked like chrome.

At this temp, the color changes come slower and it's easier to get the color you want without it slipping by you. This is what it looked like after quenching. It took between 2-3 minutes to turn this color.

I dried it with compressed air and oiled it. It immediately darkened. Still blue, just dark blue. Then I remembered reading that you should let the part sit overnight before oiling.

Repairing Screw Heads
Sinsir was here the other day and I was showing him some of the small parts I had nitre blued for the Krag project. I mentioned that all but one of the screw heads had slot damage from using the improper screw driver and I had repaired the heads prior to bluing. He said, "How do you repair a screw"?
That made me think that this may be something some of you might be interested in.
Everybody's seen them. The boogered screw heads that someone ruined by not using the proper screw driver. Well, the Krag had plenty of them. As a matter of fact, only one screw escaped Primitive Pete and his heavy handed use of a screw driver better suited to opening cans of paint and serving as a makeshift chisel.
Anyway, most screws damaged in this fashion can be salvaged and cold blued if the gun is not being refinished.
You take the damaged screw and secure it in a vise so that the head of the screw is supported by the jaws of the vise. Then take a smooth faced ball peen hammer and peen the raised metal back down into the slot. If the screw is very badly damaged, you may need to use a punch to take care of a small spot, but a hammer is usually sufficient. Do not use the claw hammer with the pock marked face you use to drive tomato stakes for the wife. You want a nice smooth face on the hammer that will not make things worse. Tap, do not pound on the screw.
This was the worst screw I had to deal with on the Krag.
Now some of you may say, why don't you just order another screw. Well, when you're dealing with a 112 year old rifle, the rest of the screws out there are likely in the same shape as yours, so if you spend $3 for a screw from Gunparts plus $5 shipping, you may end up with another boogered screw just like the one you already have.

After you have peened the screw, use a flat needle file to recut the slot so it's parallel.

This screw was so badly damaged I couldn't get it perfect, but it's not too bad. This is after polishing.
Here are the other screws that were repaired. This is after bluing in the nitre salts.

I also did the rear sling swivel at the same time.

Finally got a good day to set up and finish bluing the Krag parts. Now all that's left is to rust blue the barrel, action, and load gate and side cover. And finish the stock work.

Meant to post this first.
These are the parts after polishing. Lots of elbow grease expended here. The major action parts are case hardened and cannot be draw filed to get the imperfections out like the other parts. There will be more hours spent getting the side cover good enough to blue. You can see marks near the screw hole that will have to be polished out with abrasive cloth.

In my research into restoring the Krag, I have found that Springfield Armory used several different metal finishes for the various parts of the rifle. Many of these finishes were a byproduct of that parts manufacturing process.
The bluing of metal is an oxidation process. It can be achieved in several ways.
One of these is Nitre bluing. It was used as a tempering process to draw back parts that had been case hardened, and it was used as a final finish on parts that would not see pressure.
As with other 19th Century technology, it is fairly easy to do for the advanced tinkerer.
Here's some pics of my first attempt at Nitre bluing.
Salts heating up.

| This image has been resized. Click this bar to view the full image. The original image is sized 1024x768. |

Some parts from my junk bin that will serve as test pieces.
|
| This image has been resized. Click this bar to view the full image. The original image is sized 1024x768. |

Part in salt bath.
|
| This image has been resized. Click this bar to view the full image. The original image is sized 1024x768. |

Before, after polishing, after bluing.
|
| This image has been resized. Click this bar to view the full image. The original image is sized 1024x768. |

I had intended to do one of the barrel bands pictured. While in the bath, a thunder storm came up. Needless to say, water in a 800F salt bath is bad news, so I had to shut down for the day. Maybe tomorrow.
The range of colors possible by this process is determined by the temperature and immersion time. Straw colors as seen on Luger triggers, as well as the peacock blue used on screws and pins on 19th Century arms are possible.
Lots of good info.
http://www.brownells.com/userdocs/le...g%20Bluing.pdf
Buying Nitre salts.
Brownells sells these of course, but the small bucket is 10lbs. for $66 plus HazMat. For the small amount of parts I need to do, this was a little more than I wanted to pay. By chance, in my quest for knowledge, I learned that this commonly available product is Potassium Nitrate. Springfield's formula also had 10% Manganese Dioxide, but I'm told this is not essential, just a enhancer to the process.
Available at Lowes for $6.44lb. The amount shown in my pot is 2 lb. worth.
With all the rain we've been getting, It's taken til now to get some time to play with this further.
Polished up another swivel from the pile of Krag parts. Heated up the salts to 650* to have a stab at getting the peacock blue color. The salts are hydroscopic and had absorbed a bunch of water when it rained me out the last time. Had to let the pot simmer and boil off the water before cranking up the heat.
Polished the swivel up til it looked like chrome.
|
| This image has been resized. Click this bar to view the full image. The original image is sized 795x779. |

At this temp, the color changes come slower and it's easier to get the color you want without it slipping by you. This is what it looked like after quenching. It took between 2-3 minutes to turn this color.
|
| This image has been resized. Click this bar to view the full image. The original image is sized 795x779. |

I dried it with compressed air and oiled it. It immediately darkened. Still blue, just dark blue. Then I remembered reading that you should let the part sit overnight before oiling.
|
| This image has been resized. Click this bar to view the full image. The original image is sized 1024x768. |

Repairing Screw Heads
Sinsir was here the other day and I was showing him some of the small parts I had nitre blued for the Krag project. I mentioned that all but one of the screw heads had slot damage from using the improper screw driver and I had repaired the heads prior to bluing. He said, "How do you repair a screw"?
That made me think that this may be something some of you might be interested in.
Everybody's seen them. The boogered screw heads that someone ruined by not using the proper screw driver. Well, the Krag had plenty of them. As a matter of fact, only one screw escaped Primitive Pete and his heavy handed use of a screw driver better suited to opening cans of paint and serving as a makeshift chisel.
Anyway, most screws damaged in this fashion can be salvaged and cold blued if the gun is not being refinished.
You take the damaged screw and secure it in a vise so that the head of the screw is supported by the jaws of the vise. Then take a smooth faced ball peen hammer and peen the raised metal back down into the slot. If the screw is very badly damaged, you may need to use a punch to take care of a small spot, but a hammer is usually sufficient. Do not use the claw hammer with the pock marked face you use to drive tomato stakes for the wife. You want a nice smooth face on the hammer that will not make things worse. Tap, do not pound on the screw.
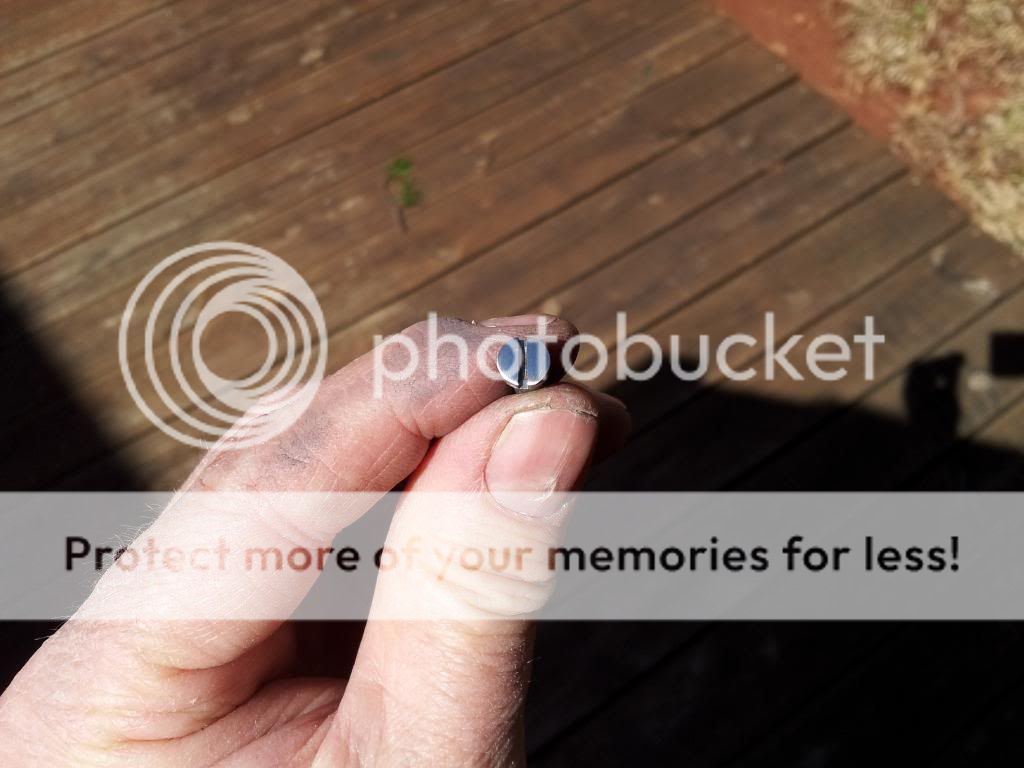
This was the worst screw I had to deal with on the Krag.
Now some of you may say, why don't you just order another screw. Well, when you're dealing with a 112 year old rifle, the rest of the screws out there are likely in the same shape as yours, so if you spend $3 for a screw from Gunparts plus $5 shipping, you may end up with another boogered screw just like the one you already have.
|
| This image has been resized. Click this bar to view the full image. The original image is sized 1024x768. |

After you have peened the screw, use a flat needle file to recut the slot so it's parallel.
|
| This image has been resized. Click this bar to view the full image. The original image is sized 768x1024. |

This screw was so badly damaged I couldn't get it perfect, but it's not too bad. This is after polishing.
|
| This image has been resized. Click this bar to view the full image. The original image is sized 1024x768. |

Here are the other screws that were repaired. This is after bluing in the nitre salts.
|
| This image has been resized. Click this bar to view the full image. The original image is sized 1024x844. |

I also did the rear sling swivel at the same time.
|
| This image has been resized. Click this bar to view the full image. The original image is sized 1024x844. |

Finally got a good day to set up and finish bluing the Krag parts. Now all that's left is to rust blue the barrel, action, and load gate and side cover. And finish the stock work.
|
| This image has been resized. Click this bar to view the full image. The original image is sized 1024x768. |

Meant to post this first.
These are the parts after polishing. Lots of elbow grease expended here. The major action parts are case hardened and cannot be draw filed to get the imperfections out like the other parts. There will be more hours spent getting the side cover good enough to blue. You can see marks near the screw hole that will have to be polished out with abrasive cloth.
|
| This image has been resized. Click this bar to view the full image. The original image is sized 1024x768. |


")