Stippling: How to Avoid Burns on Colored Plastic

GenericUserName

Active member
Exchange Privileges
Joined
Nov 12, 2022
Messages
143
Reaction score
68
Points
28
I got a wood burner (25watt) and some tips to try my hand at stippling. I work with plastic on a lot of varied hobbies so this seemed like a cool idea to bring some skills used in the gun world to other places too.
I found the skill to be fairly easy to pick up except one thing: if the plastic isn’t black colored, you see burned material! So you end up with, say, a blue piece of plastic where all the high points are black. Not a good look IMO.

For those that stipple, how do you avoid this?

The only way I have found is to wipe the tip after each press as it’s more plastic staying on the tip and burning than it is burns from the actual press. However, this is obviously not a great answer as it drastically increases the time required.
I have seen videos online of guys doing colored stipple work where they even are dragging the tip along to do a pattern, so it must be doable. But these have all been soldering irons (which often include temp controls), so that may be their trick?
If that’s the key, has anyone ever used a variable voltage regulator on a wood burner to create a temp control?

Any help would be great as my use case likely won’t include a lot of black plastic.
 
Fail #1: A variable speed controller for a router is not the right tech to use to control temp on a burner.
 
Check out my first time and the process I went thru...

key points are...

1 - "practice... practice... practice... and more practice''
2 - Brad said the highest temperature [ Brad is the owner of GLEDHILL CUSTOMER ]
3 - Consistent pressure

In my experience, the burning of plastic comes from too much pressure and or duration. Brad was on MGB's old live Q&A and stated ''highest temperature and consistent pressure''. Hard to quantify the time it takes me to stipple one pattern, but it is quick consistent pressure, and release right away.

Typically on the color frame, I would clean the tip of every line and repeat. Yes, it is time consuming but it is worth it for the best result.
[ soldering iron tip cleaner ]

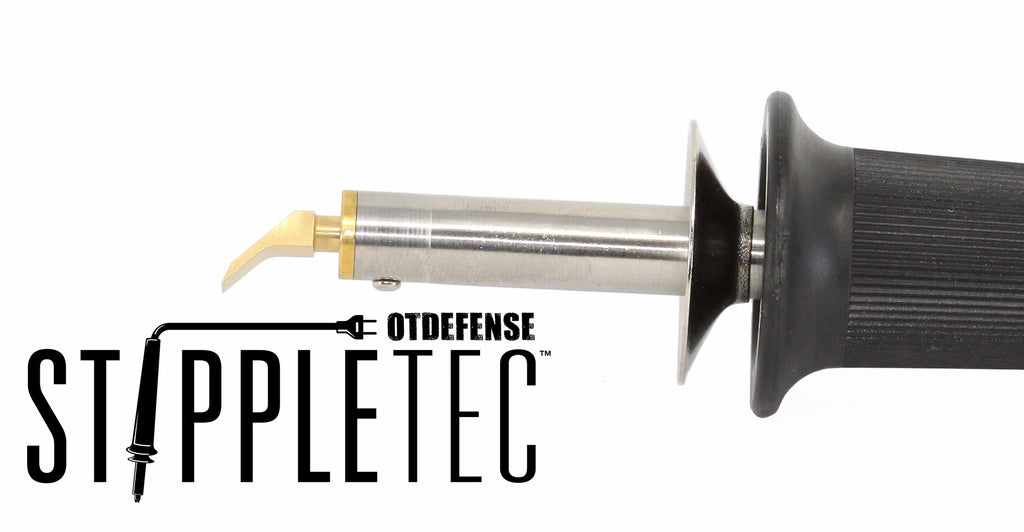
My hot air and iron workstation finally broke, I ordered 30-watt stipple from OTD burner [Has no on/off switch, plugged it on, unplug it off]. I can tell the quality of melted plastic is more pleasing, again hard to describe but the finished stipple looks more refined.

30 watt burner, same SC frame just rit dye
20230124_122436.jpg


Few tips for beginners... I have used these to re-melt stipple for practicing on the same frame, that SC frame probably has re-melted more than I can count now. Start with something you can do a random pattern, once you get some practice you can try a symmetric pattern.

 
Last edited:
I actually found you old thread before posting as it seemed a promising place to answer this question. I’ve done a lot of practice on scrap (have plenty) to the point a basket pattern doesn’t even begin to phase me; I get nice, consistent, straight results every time.
Truly the last piece I can’t seem to conquer is this color/burn thing.
It’s super surprising to hear him say to use the highest heat (or in most cases, the only heat setting (on/off)).
I hear you on top cleaning and I also do that. I’ve just found it has to be after ever dang press. I’d be more than happy if it were just once per row! I’ll try practicing more with the pressure and duration… but I can see how that’s going to help… but I’ll try!
 
I'm definitely not an expert but could be the wattage of the burner... the 30-watt seems to me create better looking stipple without the burn marks.
 
Yes, you have to clean your tip especially when stippling light colors of polymer and I have found that using a 25w irone gives you more control of your burn. An iron that is overly hot will burn plastic too.
Here is what I use for cleaning as I go stippling.
IMG_2055A.JPG

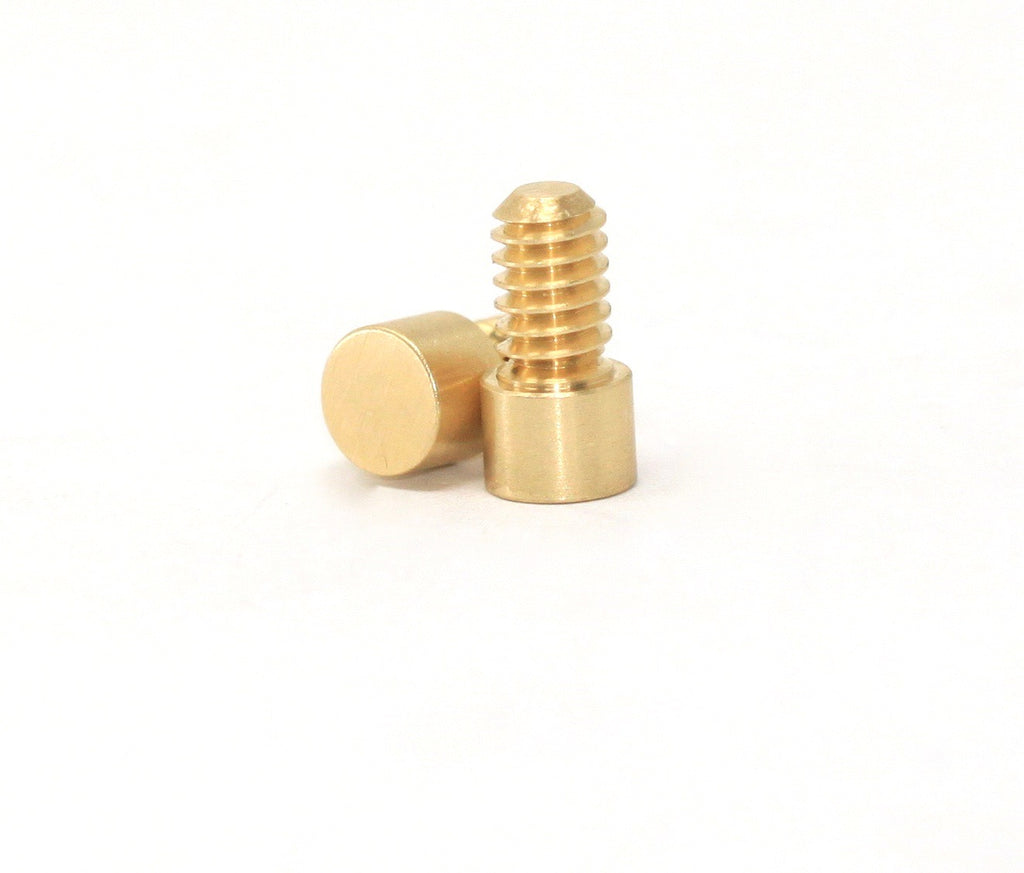
3) is wire brush which is slow but the brass cleaning thing (have not a clue what to call it) works great as well as fast. Just spin your tip in after a few burns. I started a show on stippling for newbies part 1, Just the stuff I have learned from teaching myself how to stipple.
View: https://www.youtube.com/watch?v=gJYItL5LmHs
Love to have you watch. Part two in a few weeks, I have screwed up a bunch and just what to help home builders learn how to do stuff without spending a lot of money for a custom build.
 
+1 on cleaning your tip after every press if you are stippling any color other than black.

It makes all the difference.
 
Thanks guys. I was afraid that might be the answer. But I guess it is what it is! Will give the video a watch. I’ve watched a TON of stuff already, surprised this didn’t come up on my feed.
 
@Hawkeye and @Jeffro have y’all found that different brands/types of plastics found in the gun world react differently enough that techniques learned practicing on one DO NOT translate well to the other? I’ve heard there are differences… but hard to gauge yet how big they might be.

I’ll give a concrete example: If you perfect burn-free stippling on an FDE magpul product, can you then have a confidence that your skills will work as expected on an FDE Glock frame?
Short answer YES, long answer would be more of a what to look for in the deference between the two polymers. I have stippled magpul mag extensions to match stippling done on a frame. What I noticed was magpul melted faster and seems like there is less filler in the polymer. Magpul burns more like plain plastic, fast and shiny whereas polymer with filler has a flat color.

When stippling deferent brand frames, it feels like each have a deferent amount of filler in the polymer that make them burn just a little differently, but I haven't found that a problem.

I think, along with cleaning tips and a 25w-30w iron, it all comes down to the feel along with length of time doing each burn, to be able to repeat each burn for that, all burns looking alike look we strive for when stippling.

Remember that when stippling you can flatten out stippling for a do over so you can start over. My last two attempts at stippling I started over three times flattening out my first and second attempts till I got one that one I could live with. The stippling is the easy stuff. All the prep and planning will make your stippling job give the pop you are looking for in your home builds.

My part 2 show on stippling is scheduled for 2/21/23.
I'll do a little more on prep but then we will talk about patterns and how to do them. I am not a pro, but I have made enough mistakes that I can help others so they may not have a big learning curve.
 
Hey Hawk, Quick question, and I apologize if you already answered this, Do you have a recommendation for the brand and type of burner? I was actually just about to buy one when I came across this thread. Thanks in advance brother.
 
If it’s any consolation… OTD 25W being wiped on a brass brush EVERY press works to keep FDE clean from burns. I bought the cheapest, biggest surface area FDE magpul part to learn on. Haha.
 
Hey Hawk, Quick question, and I apologize if you already answered this, Do you have a recommendation for the brand and type of burner? I was actually just about to buy one when I came across this thread. Thanks in advance brother.
OT Defense 25W burners
I think everyone here that has messed with stippling ended up using this one, 25w makes your burns controllable and the short end helps you do level burns. After tring three iorns this is what I use now.
 
Back
Top