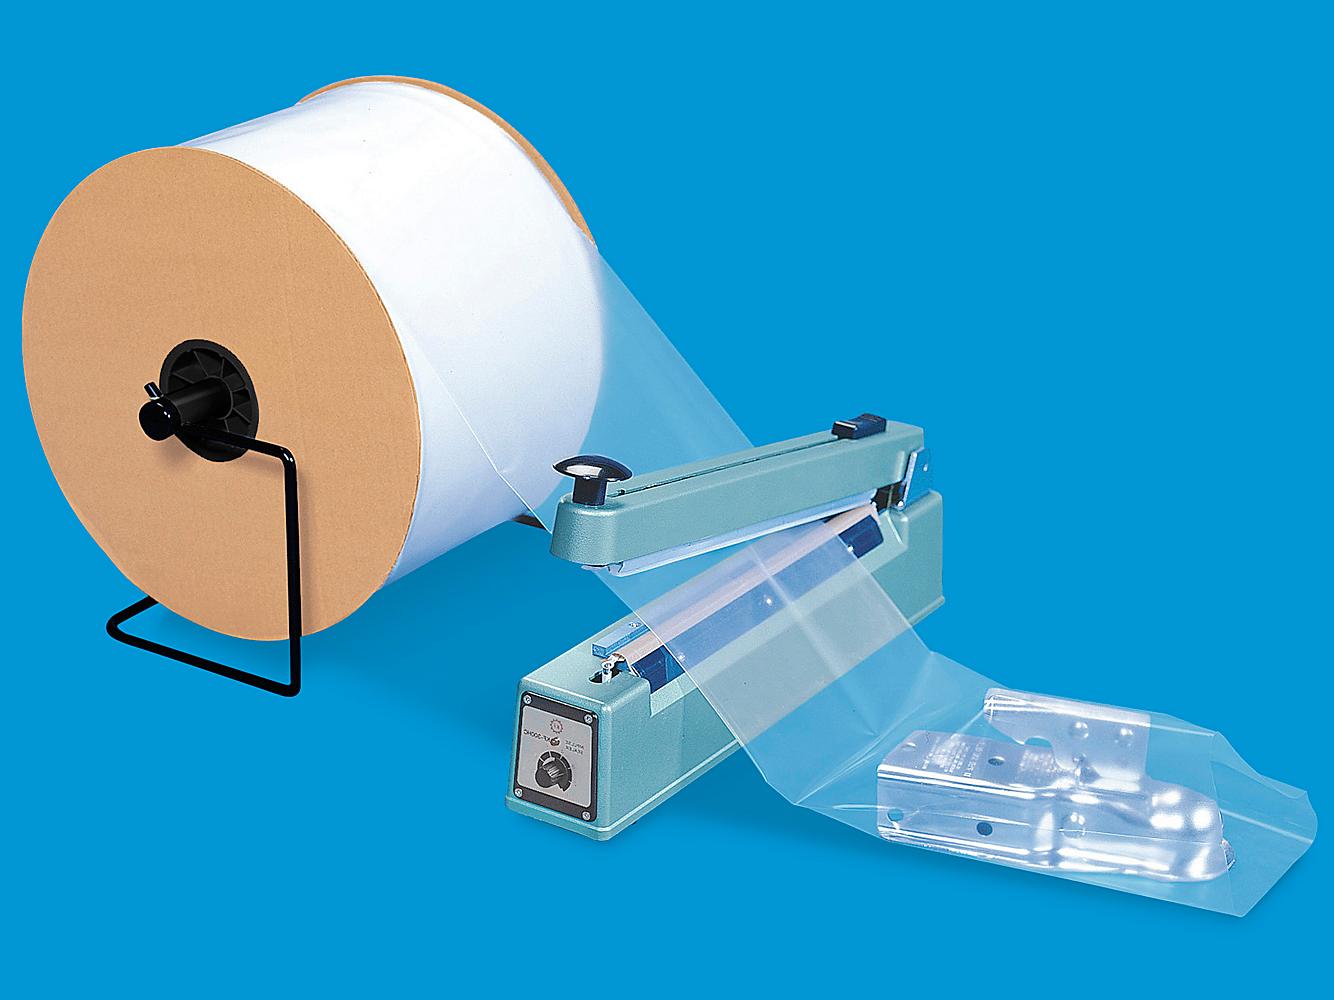
First, use HD poly tubing. Trying to cheap out and use Ziploc bags won't work. Good enough for your ham and cheese, but not for what we're talking about here.
Uline stocks a wide selection of 6 Mil Heavy Duty Poly Tubing. Order by 6 p.m. for same day shipping. Huge Catalog! Over 41,000 products in stock. 13 Locations across USA, Canada and Mexico for fast delivery of 6 Mil Heavy Duty Poly Tubing.

www.uline.com
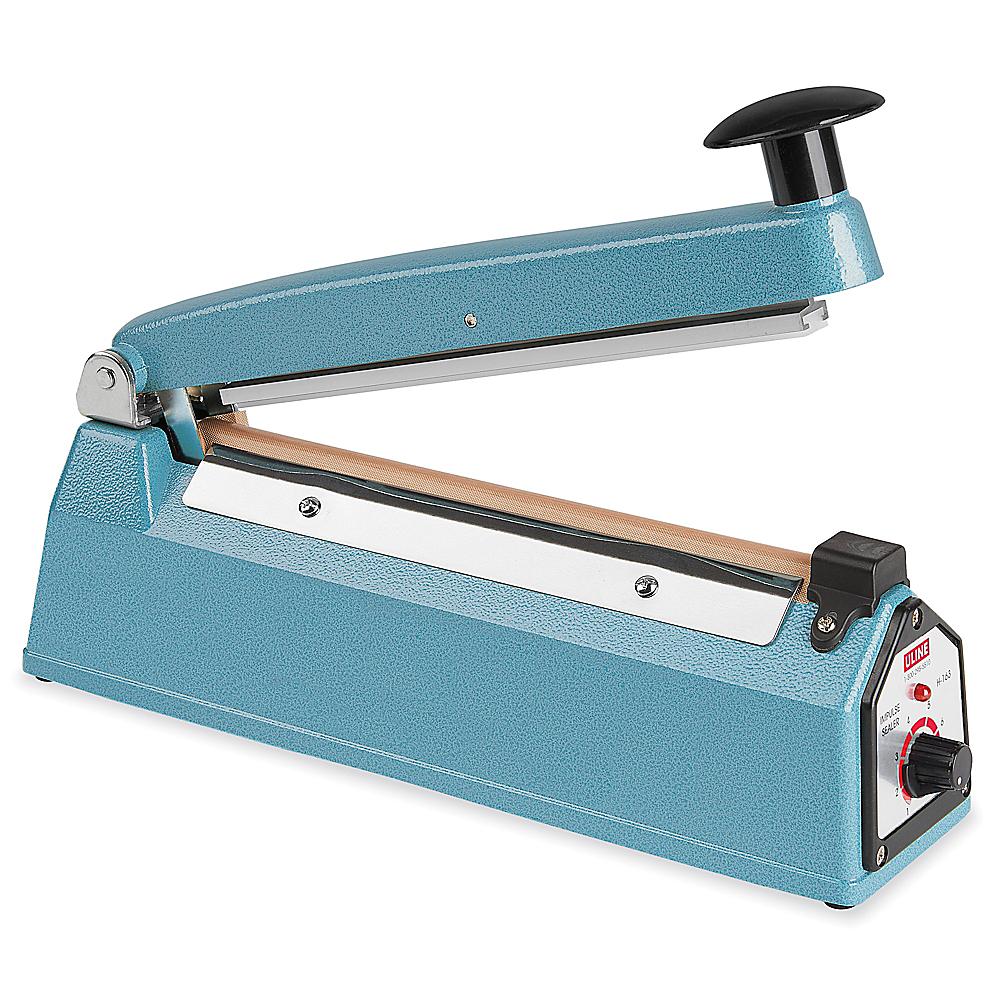
Use an impulse sealer appropriate to the size tubing used.
Uline stocks a wide selection of Tabletop Impulse Sealers. Order by 6 p.m. for same day shipping. Huge Catalog! Over 41,000 products in stock. 13 Locations across USA, Canada and Mexico for fast delivery of Tabletop Impulse Sealers.
www.uline.com
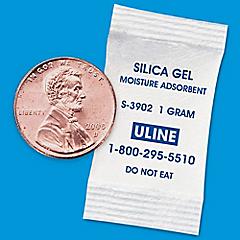
Doesn't hurt to throw in a couple of desiccant packs, especially if it's humid when you're doing the sealing. Or at least coat the metal with an anti rust agent.
Uline stocks a wide selection of Desiccant, Desiccant Packs and Desiccant Bags. Order by 6 pm for same day shipping. Huge Catalog! Over 41,000 products in stock. 13 locations across USA, Canada and Mexico for fast delivery of Desiccants.
www.uline.com
Experiment with the sealer setting to get a good seal. Too hot, and the edges melt and leak. Not hot enough, and you can pull the seal apart.
If the object has sharp corners, pad the sharp parts with tape so they don't poke a hole in the bag.
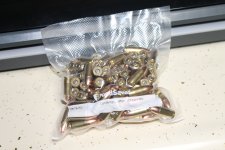
To make sure a good seal is achieved, I double seal as illustrated.
Cut the tubing a bit longer than needed to accommodate the contents.
Insert the items.
Double seal each corner. (Sharpie used for photographic purposes.)
View attachment 6664
Then use the crevice tool on your vacuum cleaner to suck the air out and seal the end when the tubing is fully compressed against the contents. This is why you cut the tubing long, so there is room for the crevice tool and the impulse sealer. You can trim it shorter after sealing.
Using this method, the seal is maintained even if the edges melt through.
View attachment 6665
If there's interest, I can seal up some items for show and tell.

 .
.")