- Joined
- Sep 2, 2022
- Messages
- 127
- Reaction score
- 127
- Points
- 43
Here is one of their helpful videos. Repairing a Medical Device Using PlastiFix
sounds like what I am looking for. Have you tried to stipple it? and does it have other colors. Man! if you can mix and match colors this stuff would be the only way to go for adding detail to frames.Hawkeye, your comment regarding frame repair material. I used to order plastic welding and chemical repair services to car dealerships. I used a repair system made by Polyvance (formerly Urethane Supply Company) named PlastiFix. You can fabricate missing pieces, repair mis-drilled holes, etc solid as a rock. Structural repairs, I grind up fiberglas mat then mix with the plastic repair powder. Much stronger and sets up quicker than most epoxys. Professional kit after 25 years I still have workable materials (chemicals): the blue blob is a moulding bar.
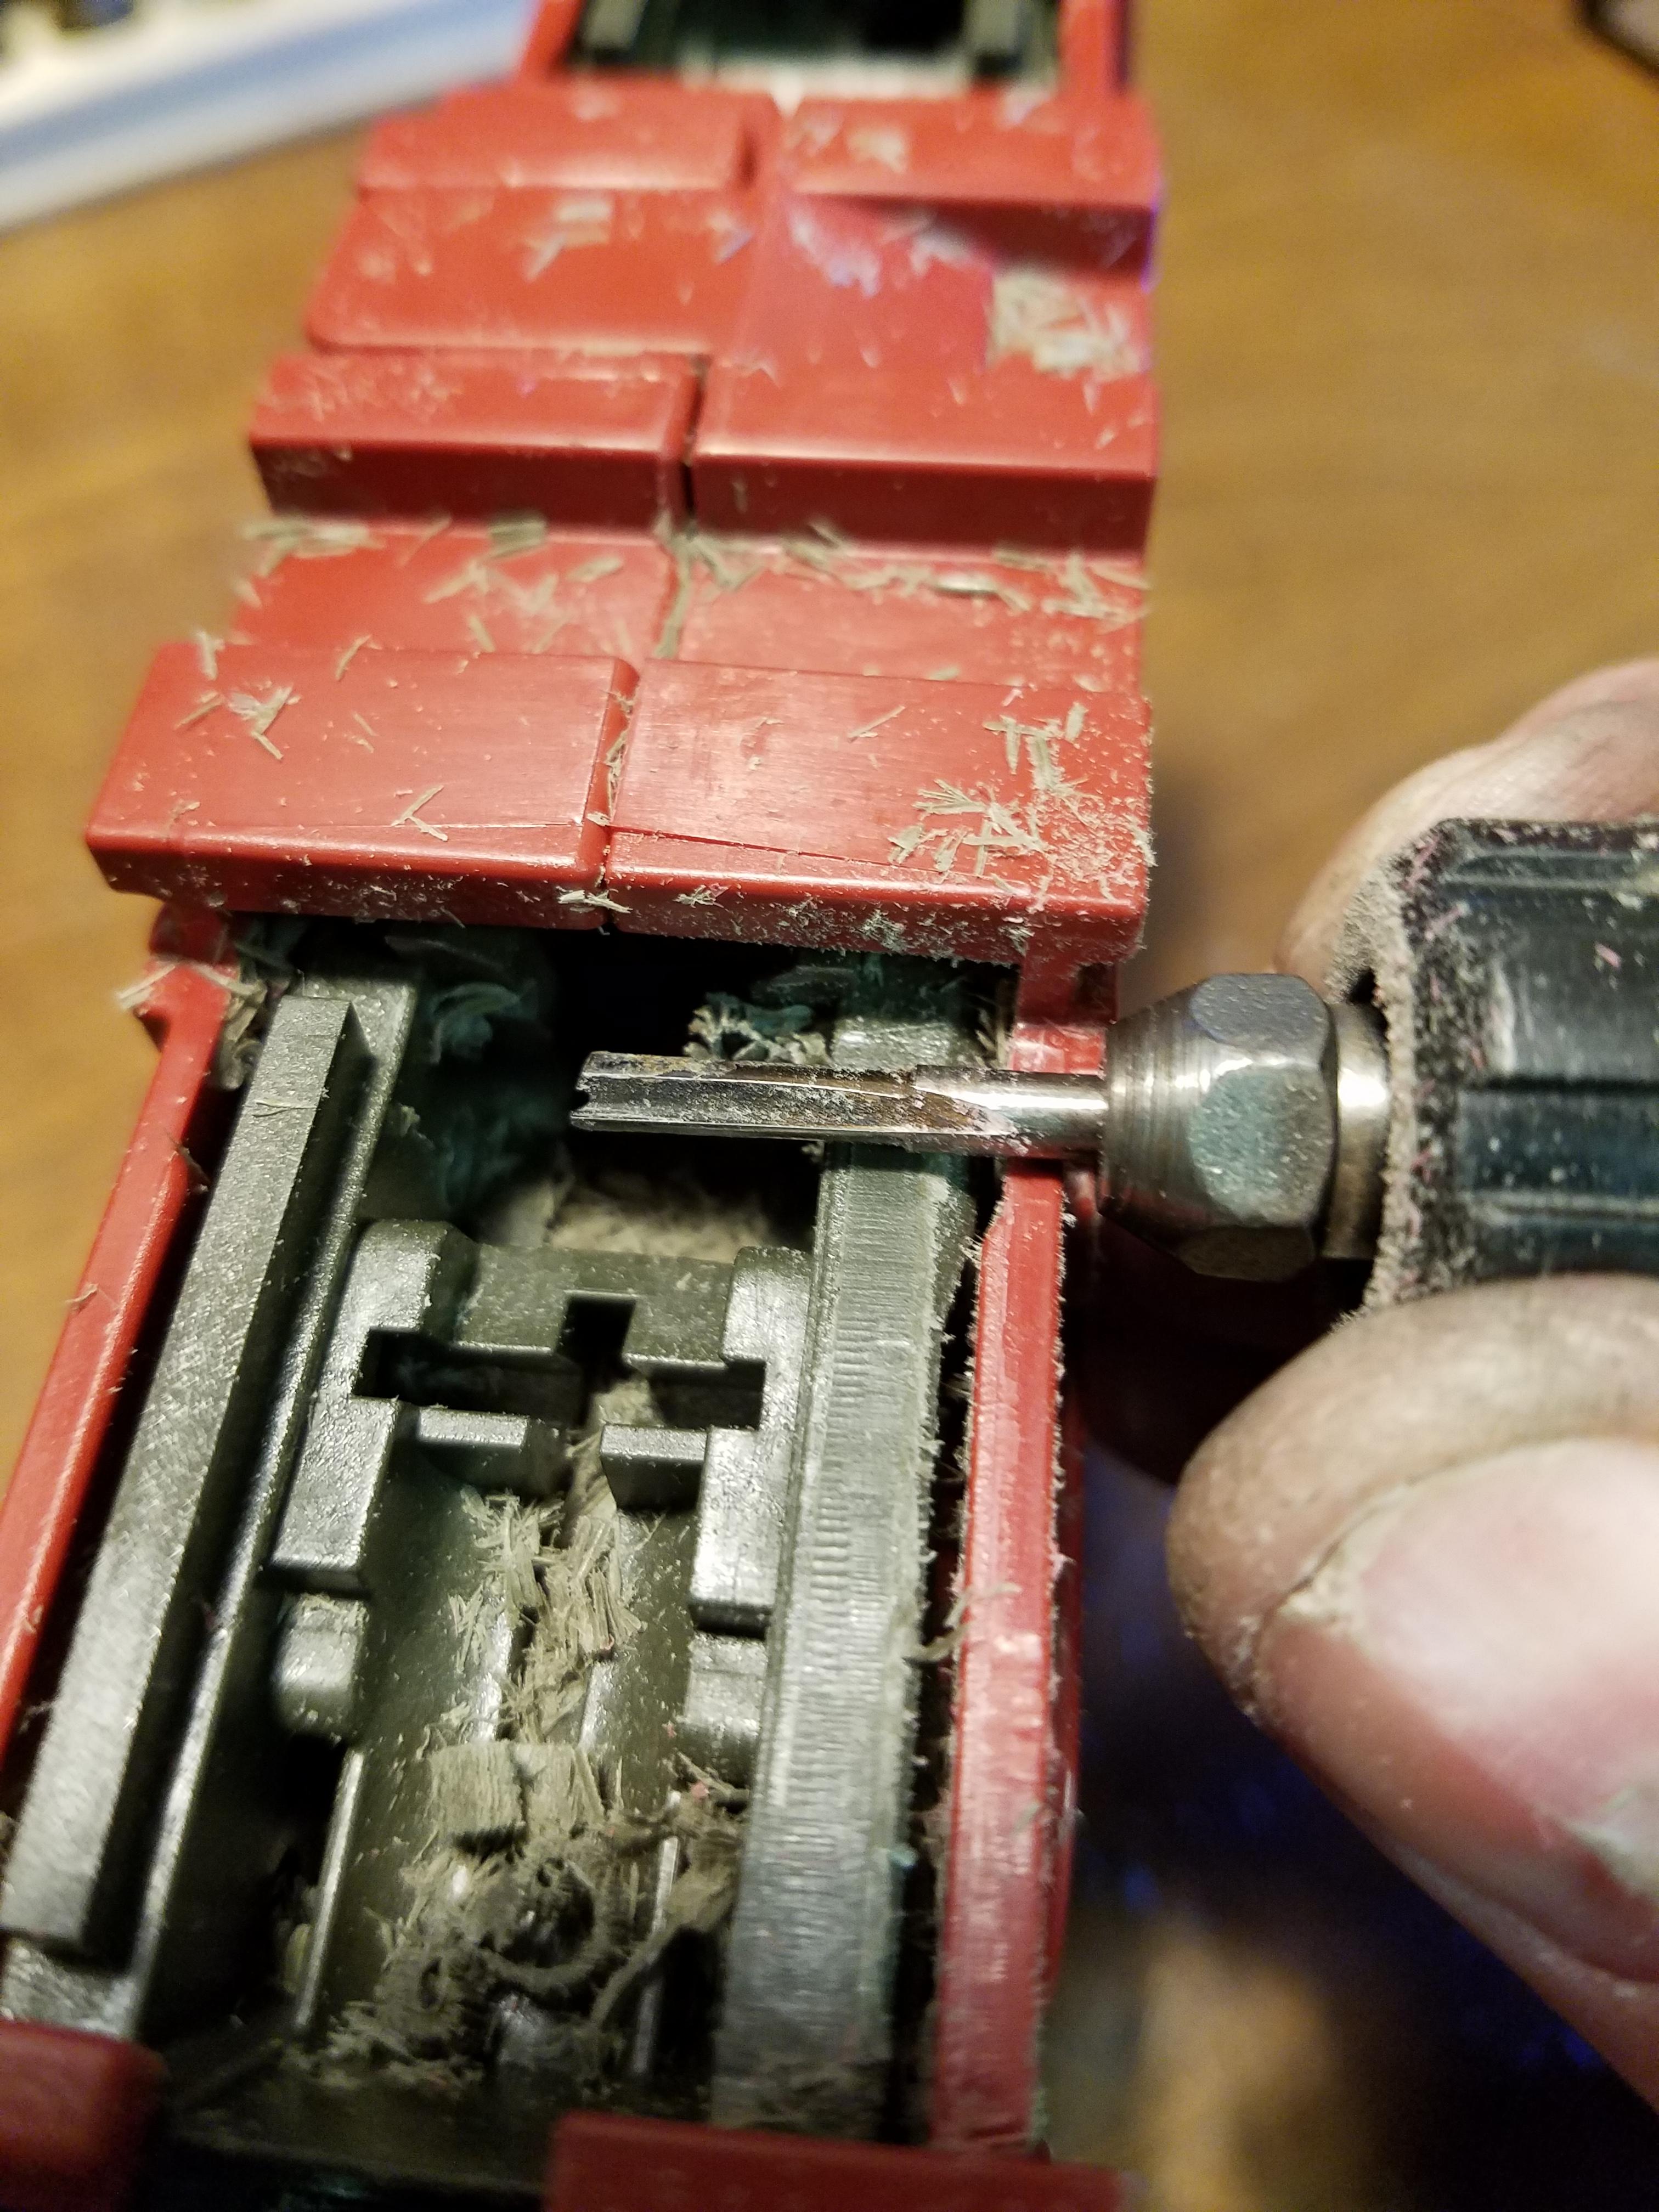
no4mk1t, your final product looks amazing, thanks for sharing your idea.So yeah, fret cutters if you have them. But what if you don't, and you only want to build one or two and are a cheap bastard like me. Well, if you own a Dremel, the answer will only cost you about $6.
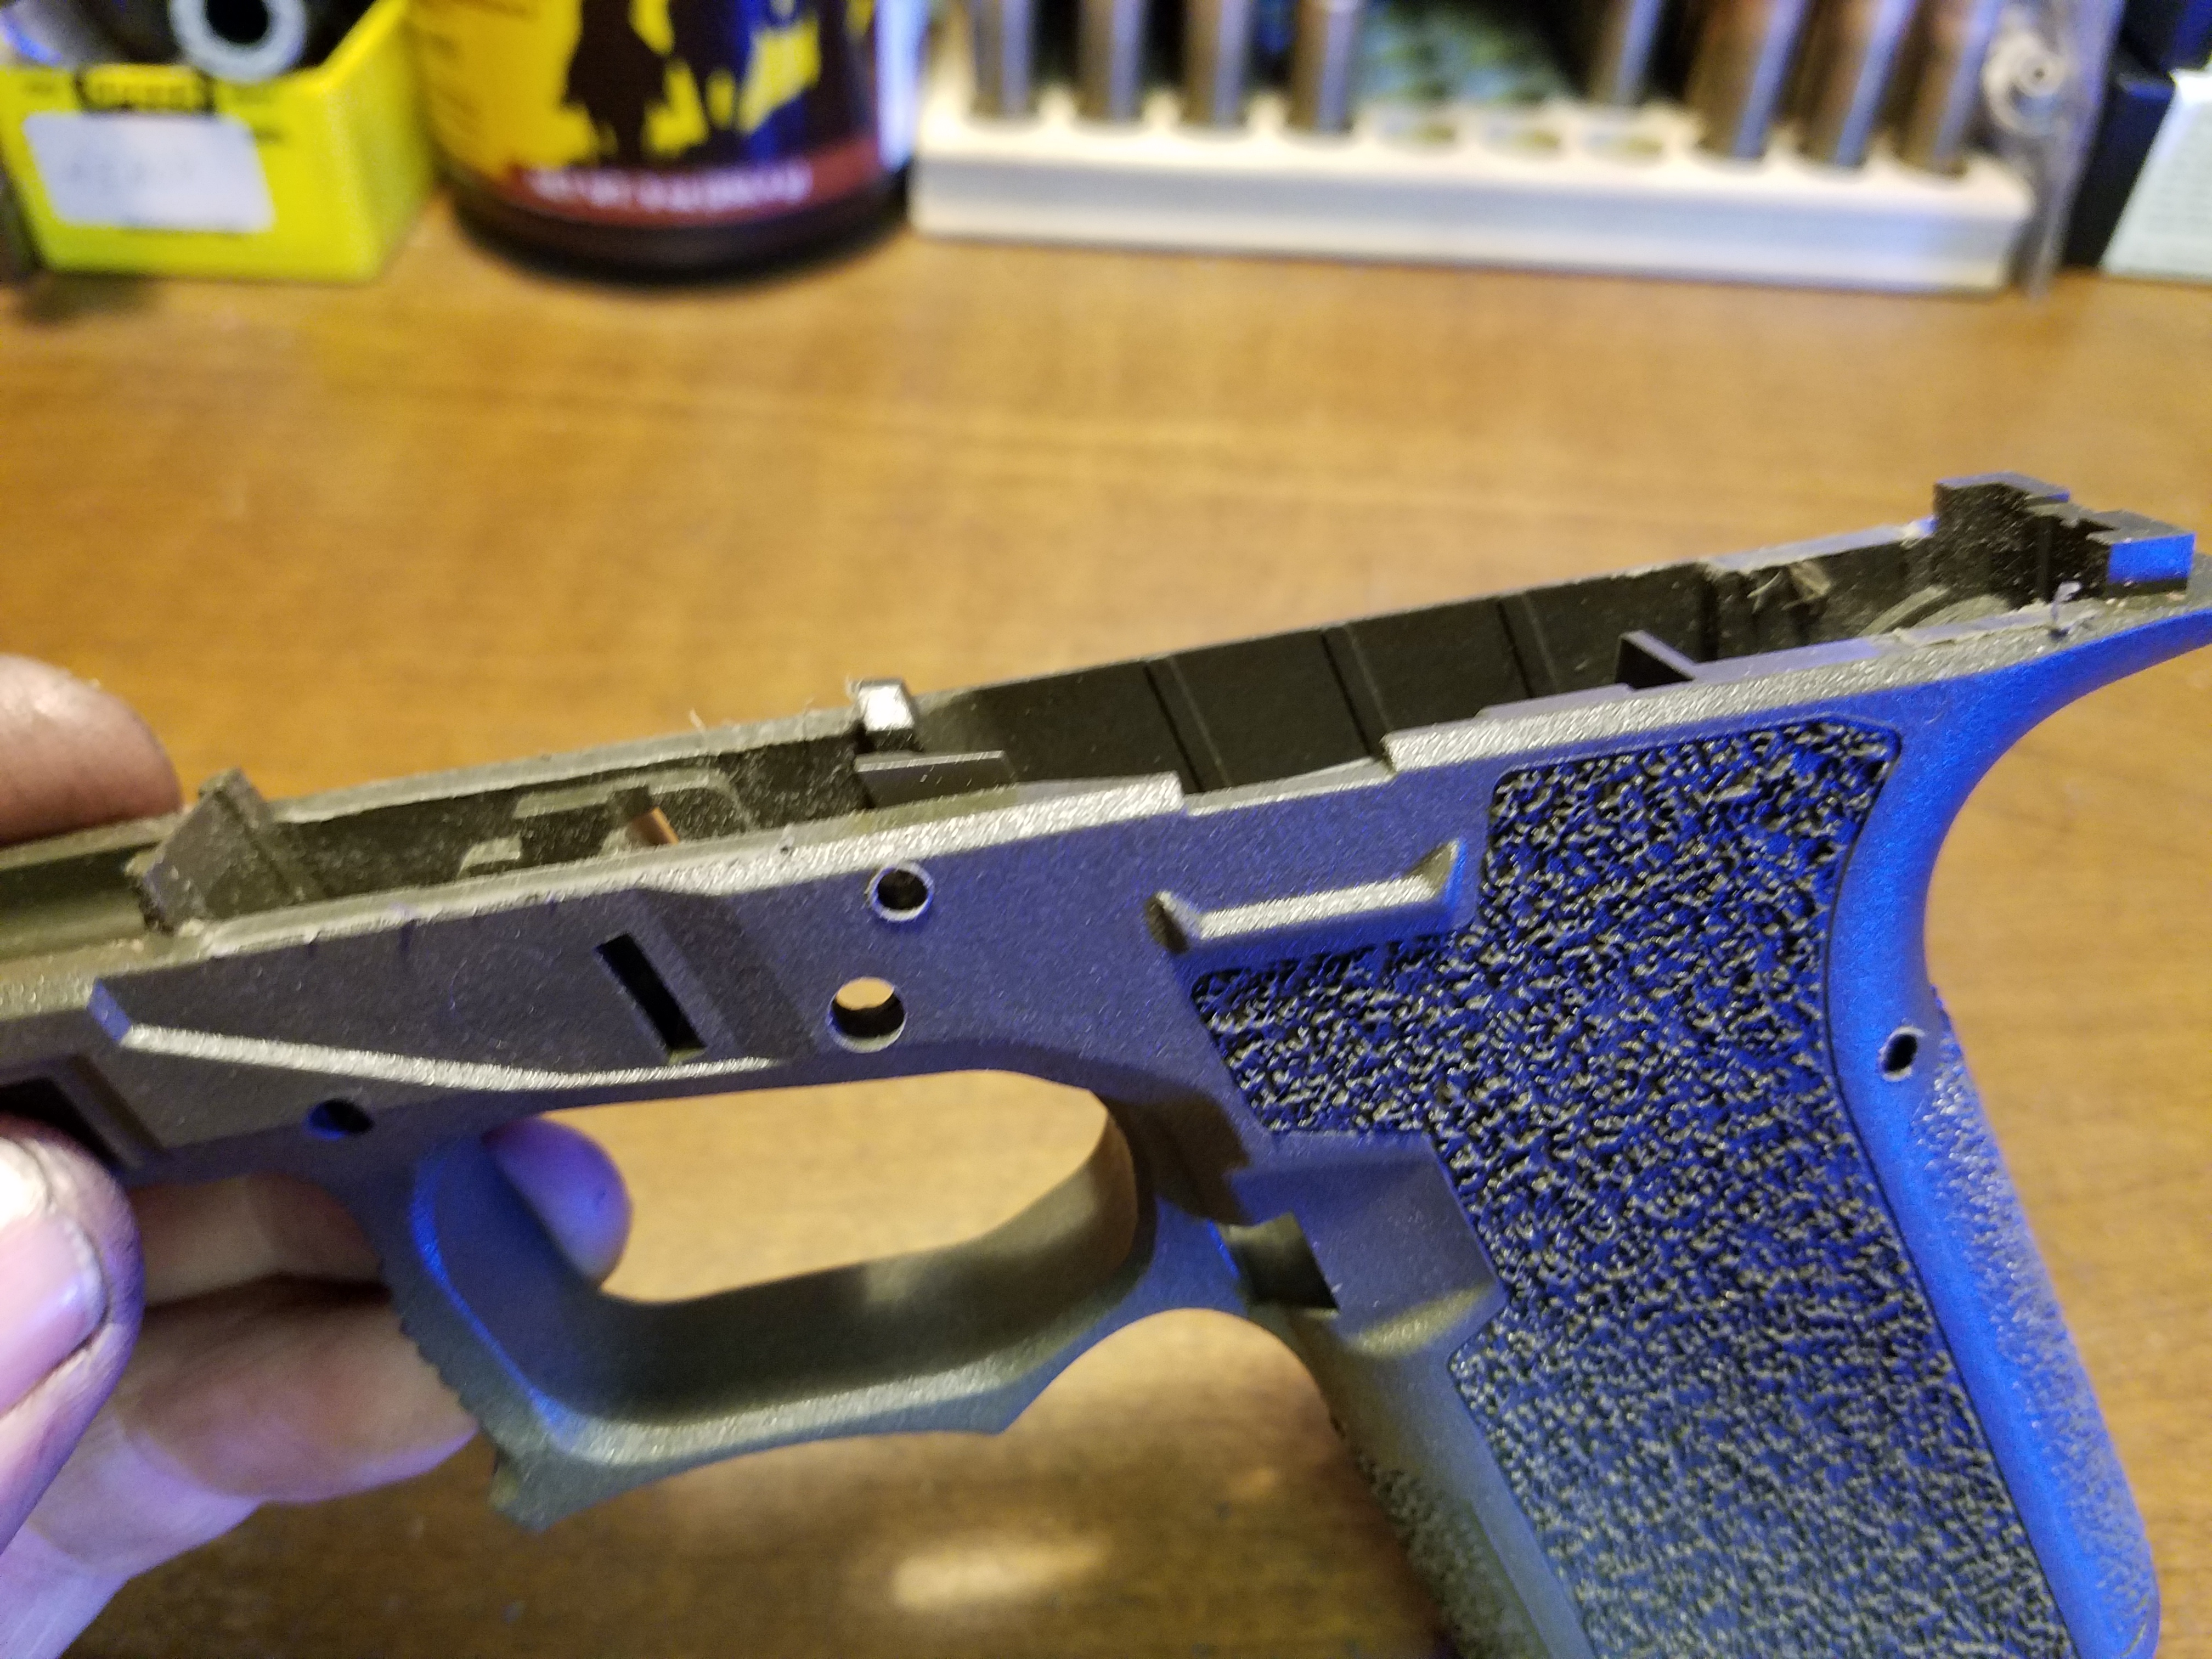
Been using this bit to bevel the forend on M1's for years. Turns out, it does a nice job on the P80 tabs too.
Set the speed fairly high to prevent chatter. Buzz off 90% of the tab, and then slow down and get deliberate. Take very slow, light cuts. For the final passes, let the smooth portion of the cutter shank ride on the plastic jig. You will be left with very little file/sandpaper work to finish.
Unlike the sanding drum, you can get right up in the corners and it doesn't clog with melted plastic either.
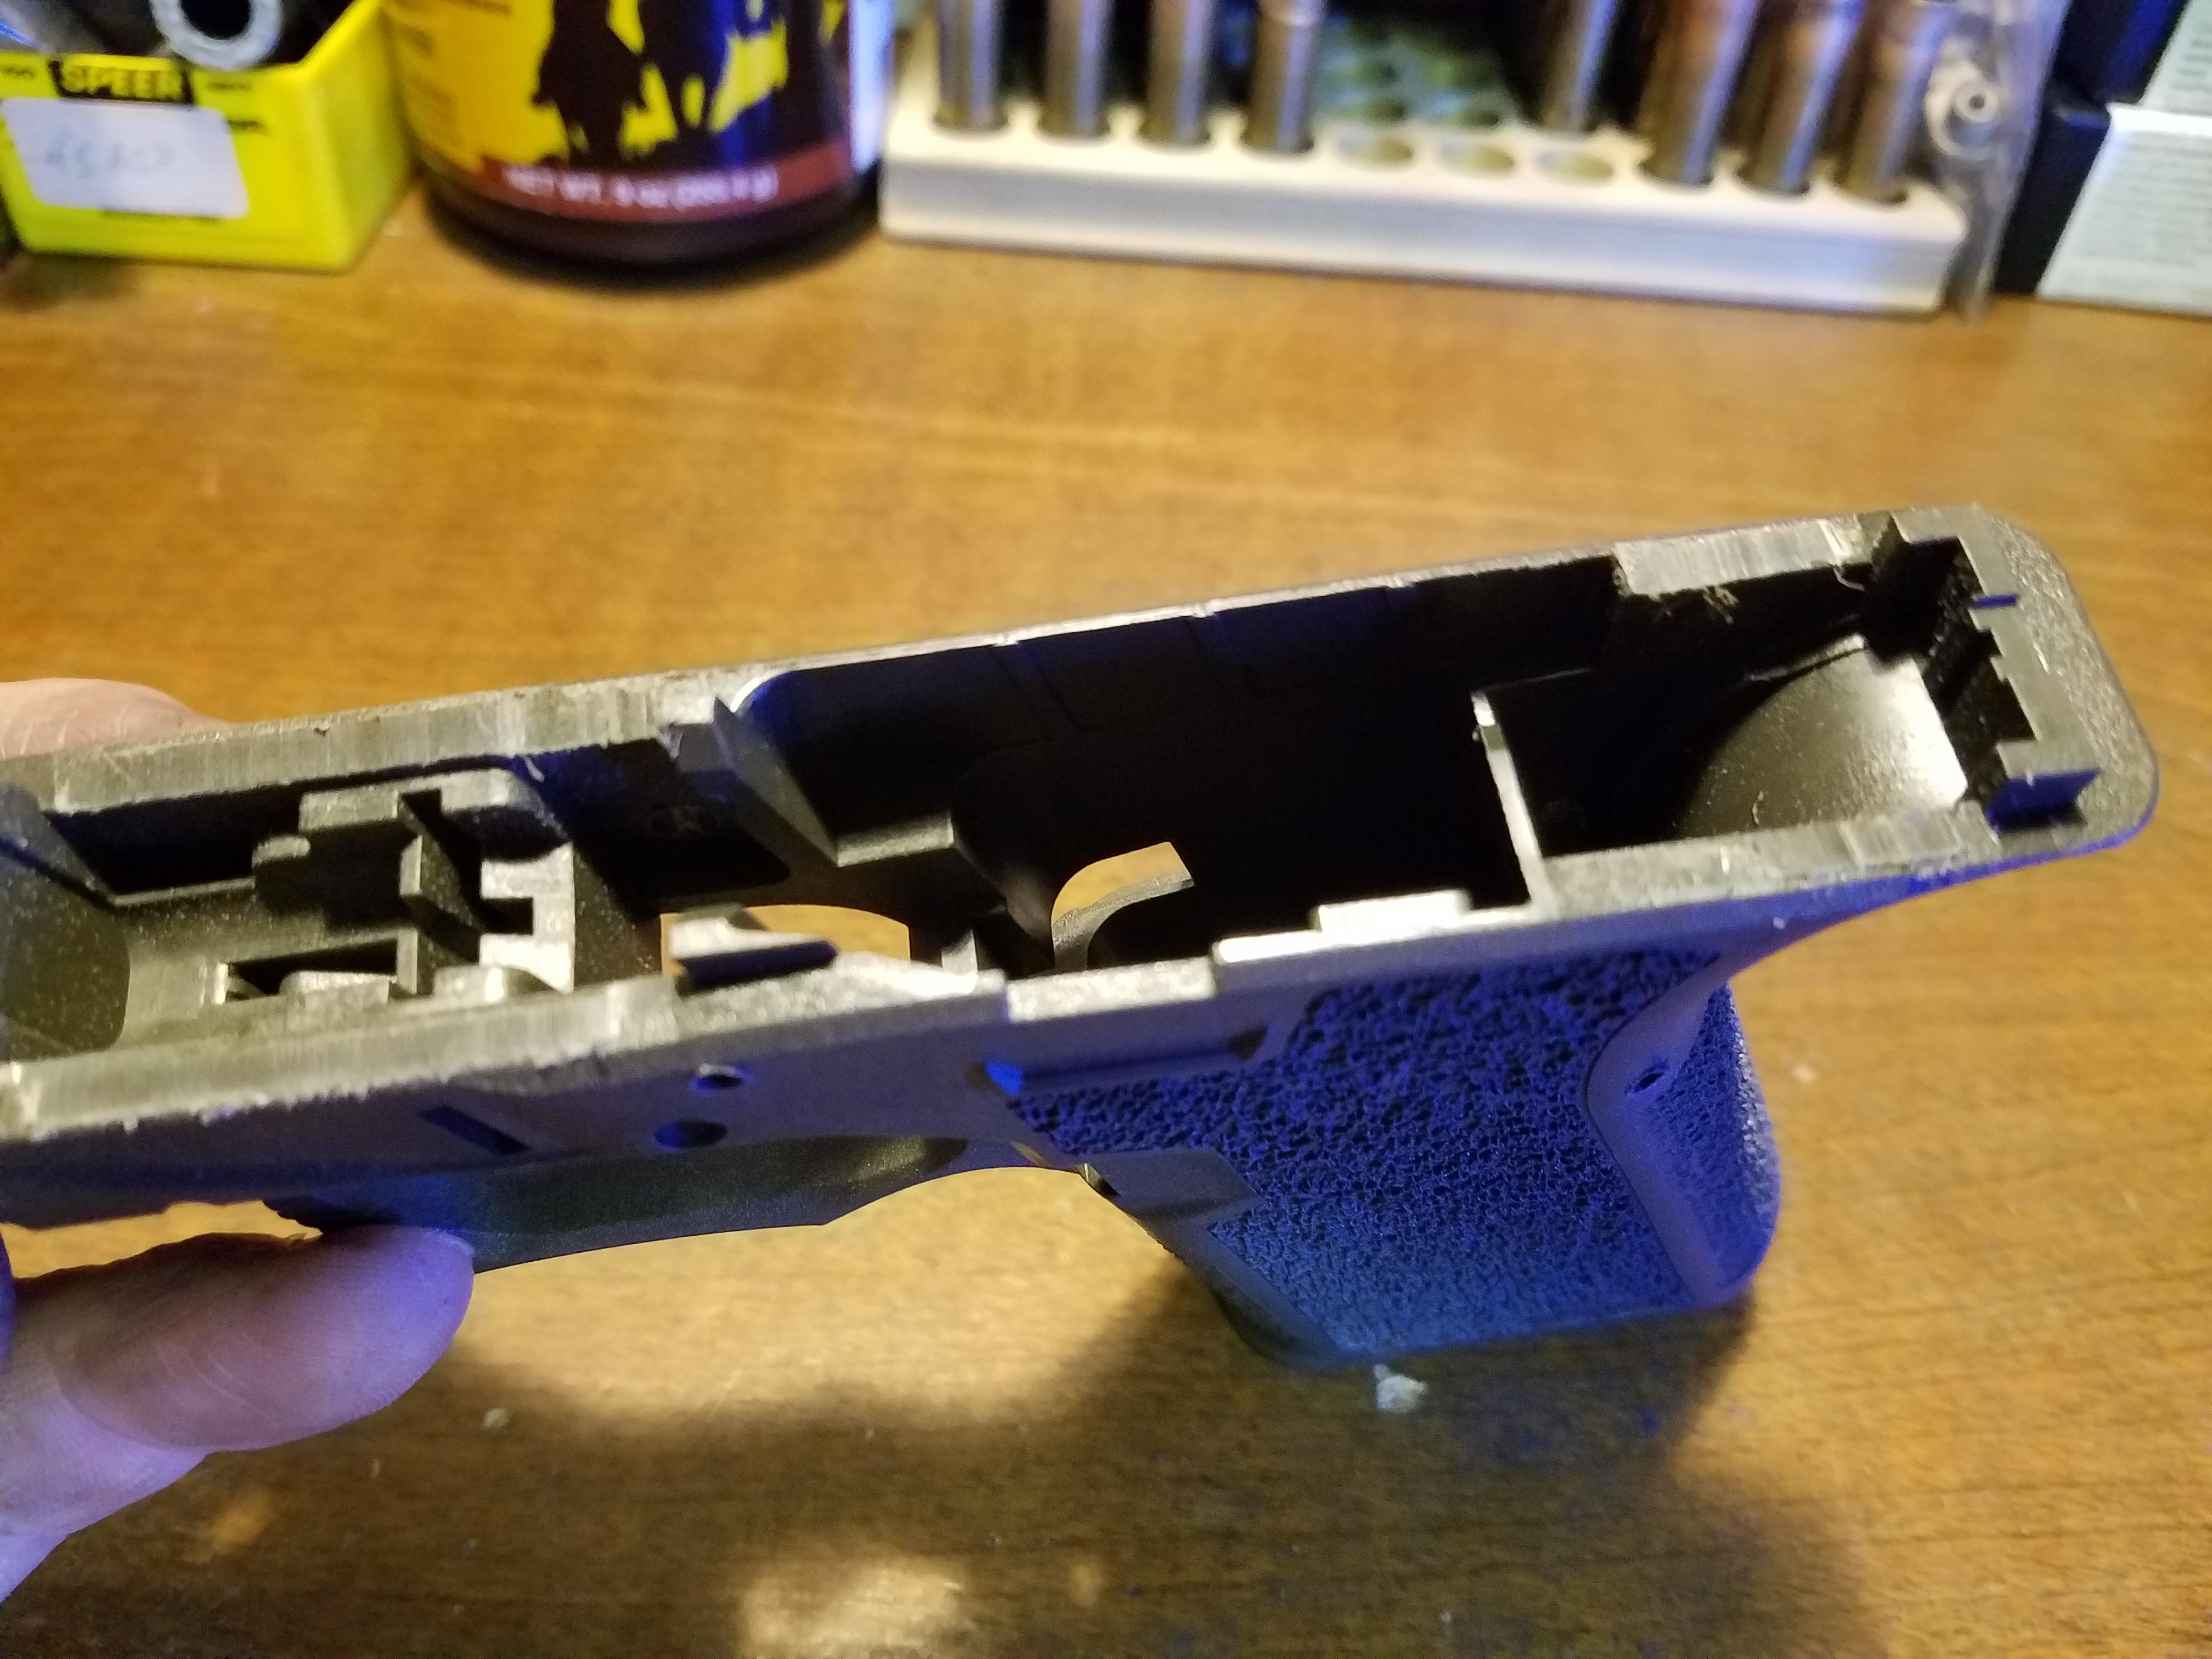
After cutting, before filing/sanding.
That's what this forum is all about.no4mk1t, your final product looks amazing, thanks for sharing your idea.
He has poured a lot of B,S,&T into it and a good bit of out of pocket money for the software and all the add ons. Plus a ton of his personal time. His wife must be a saint.
")
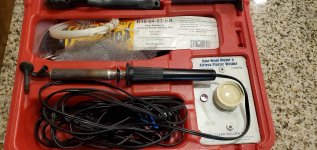
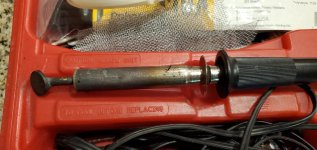
Thanks for the infoHawkeye, yes, stipples with a caveat (Edit: Using Rocker Panel Chip Guard spray or spray-in bed-liner. For soldering iron 'heat stippling I would go with an airless plastic welder since you are putting a thermal plastic into the repair. the airless plastic welder is basically a temperature controlled soldering iron' and two welding tips. Refer to the pictures I've added here. I used this to repair a deep gouge where the spear-head Dremel attachment slipped on the upper rail of my first P80 build. You can shaped and use the soldering iron without the noxious chemical fumes of the PlasticFix. NOTE: I do not make any kick backs or personal gain from posting Polyvance's products and tools.
")
Looking at all the videos, I find myself wondering if I should use my vertical mill. It's more time/work in terms of setup, but it's far more precise than doing anything by hand.
")
I make all mine on a mill.Looking at all the videos, I find myself wondering if I should use my vertical mill. It's more time/work in terms of setup, but it's far more precise than doing anything by hand.
Ummm I don’t remember seeing this. Interesting product. It works similar to superglue and baking soda method.Here is one of their helpful videos. Repairing a Medical Device Using PlastiFix
Hawkeye, your comment regarding frame repair material. I used to provide plastic welding with an airless plastic welder and chemical plastic repair services to car dealerships. I used a repair system made by Polyvance (formerly Urethane Supply Company) named PlastiFix. You can fabricate missing pieces, repair mis-drilled holes, etc solid as a rock. Structural repairs, I grind up fiberglas mat then mix with the plastic repair powder. Much stronger and sets up quicker than most epoxys. Professional kit after 25 years I still have workable materials (chemicals): the blue blob is a moulding bar.
Ummm I don’t remember seeing this. Interesting product. It works similar to superglue and baking soda method.
I used a JB Weld plastic mending chemical to re-attach the mounting lugs on the fairing for my Suzuki Carry. For one lug (sort of a tab that hold the fairing on) , it held and worked great. In another lug, it cracked again after a short time. I assume it was mostly operator error or poor choice on my part. I believe the reason it failed was the goop didnt bond well with the plastic. The JB seemed more more like a gap filling glue or epoxy than a true bonding material. I may try Polyvance.These two posts are arguably one of the best finds on this forum. Thanks for posting about this company. I have a printer repair, car repair and various projects where this company's products will help. And obviously, this looks like it could help with P80 fixes. THANK YOU!
It's like making plastic models when you were a kid. Use the tools and techniques people here use and take your time. It will be fine.Getting ready to cut the tabs off my first frame this weekend (pf9ss). after reading so many different ways to do so, it sure makes me feel more nervous now, as I, and all of us want the cleanest, nicest and highest performing frames.. not to mention that the channel is going to be interesting as well. Will definitely be going really slow tho.. will keep reading around the forums here for more great ways to have FTQ
Getting ready to cut the tabs off my first frame this weekend (pf9ss). after reading so many different ways to do so, it sure makes me feel more nervous now, as I, and all of us want the cleanest, nicest and highest performing frames.. not to mention that the channel is going to be interesting as well. Will definitely be going really slow tho.. will keep reading around the forums here for more great ways to have FTQ